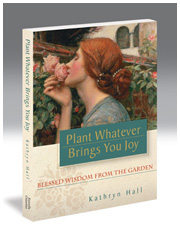

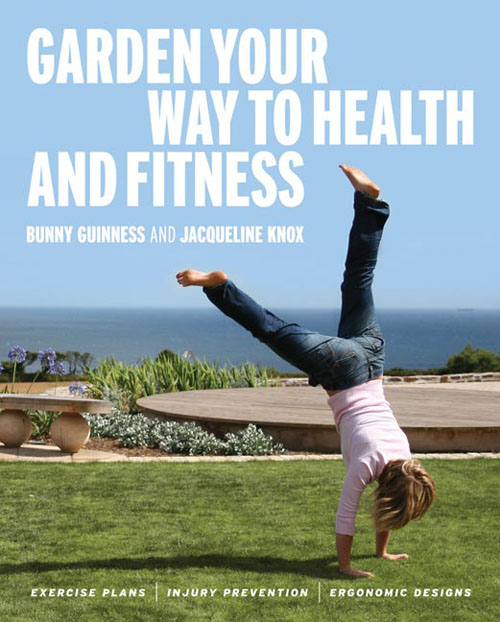
When Timber Press alerted me to a new book they were publishing about gardening and fitness I was immediately interested, as you might imagine, having written about the marriage of gardening and yoga. But I was not prepared for just how much I would utterly LOVE Garden Your Way to Health and Fitness by UK’s famed and admired gardening guru, Bunny Guinness and her co-author, English physiotherapist, Jacqueline Knox. Now, just for my European and Australian readers, please note that the cover is different for you. And here it is so you can find on your local bookshelves:
Do you suppose the British are having more fun than we are here in the US? Could be. I’ll tell you this, as you might well already know, the British REALLY know how to create a garden. As my friend Marsha observed, “They’ve been doing it for a lot longer.” Maybe. Or maybe it’s a cultural thing. I don’t know. But, oh, my! This book is worth just the many inspirational photos of Brit gardens. Just take a gander:
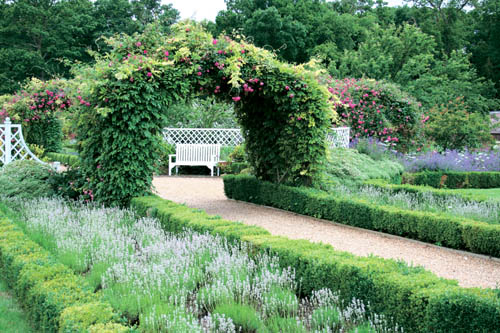
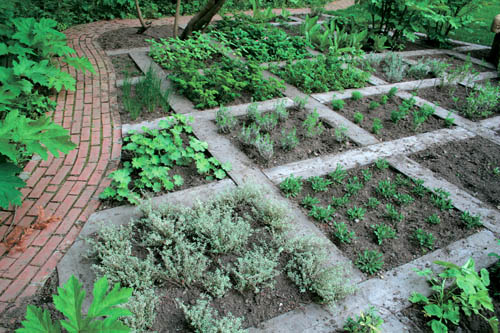
I love the use of the box to fence in the perennials. This practice of using natural, creative ways to enclose or encase one species with another is a theme in the English garden. One of my other favs was a wonderful handwoven willow fencing about a vege patch. And here is this marvelous, yet simple patchwork affair for individual herbs and veges. Beats traditional raised beds, does it not?
Ironically, in spite of the focus and excellent instruction on how to ergonomically lift, hoe, prune, and move about your wheelbarrow without ruining yourself, one of the most inspirational sections for me personally was the emphasis on Good Tools. As a result of reading this book I have purchased in the last week a much broader rake, a long handled pruner that does not come baggaged with any sort of complicating strings or ropes, a hula hoe and a Dutch hoe (highly recommended by the authors), a nifty edging iron, and a new digging tool that is so fierce it could double as a weapon, God forbid you should ever need it. Next on the list are an apron (moi!) and a pair of Wellington boots, apparently, known affectionately as Wellies. I can wear them with my Children of the Forest wool-lined oilcloth raincoat, a personal favorite item, which reads “made in the Royal Forest of Dean, England.” Sigh. But I digress.
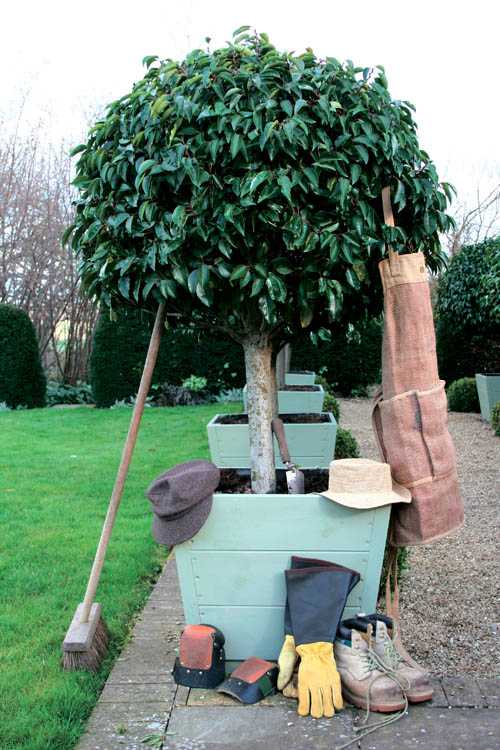
Here’s a wonderfully inspiring, charmingly instructional photo of what the authors recommend as basic gardening gear:
I am all atwitter just thinking about it.
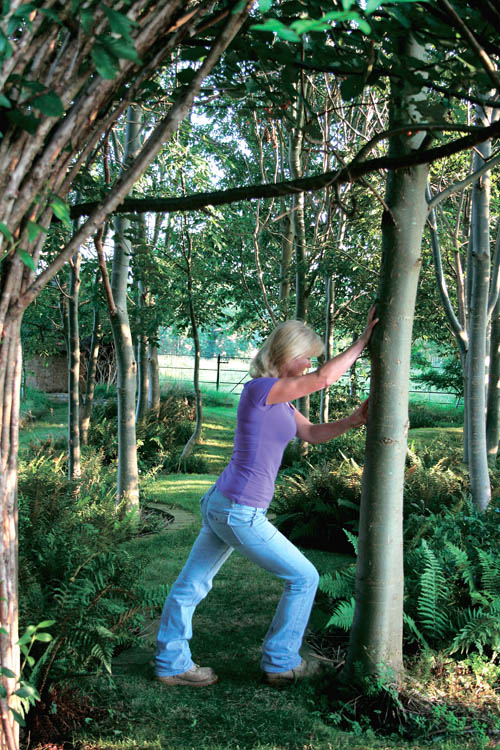
I would be remiss if I did not emphasize that the primary focus of Garden Your Way to Health and Fitness is bringing our attention to the importance of warming up our bodies prior to gardening, learning to move our bodies as we work in ways that prevent injuries, and incorporate stretches and exercises into our gardening practices. The book is rich with lush photos that show us the way. Here is a lovely photo of Bunny stopping for a stretch against a handy tree while working:
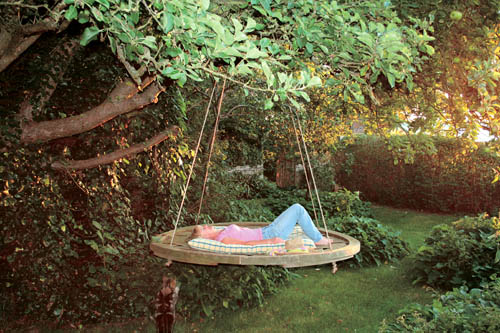
And, obviously a woman who understands the importance of balance, here is a splendidly seductive suggestion (and I want one!):
Again, while the primary intention of Bunny and Jacqueline’s book is to raise our awareness of how we might use our bodies more consciously and effectively in the garden, which it does brilliantly, it is ever so much more than that, my dear readers. I have to say this is probably one of my all-time favorite gardening books, and I can readily imagine taking it into my garden as a new Garden Bible to refer to again and again, the ideas therein are so rich and abundant. Well done, ladies, and highly recommended!
Love and garden blessings,
Kathryn xox
Posted on June 3rd, 2008 by Kathryn
Filed under: Book Notes | 13 Comments »